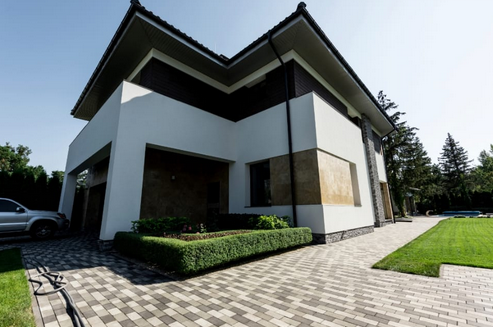
Acrylic, mineral, silicate, and silicone renders may crack over time and gradually falls off the wall surface. Most and quickly cracks appear on acrylic rendering in areas with high humidity (proximity to forests, lakes, etc.). Why does the render fall off, and how to repair rendering on wall?
Why does the render fall off the wall?
Generally speaking, there can be two primary causes of falling off the renders. The first is the building subsidence due to unfavorable soil conditions. Therefore, leaving the building in its raw state (2-3 months) for natural subsidence without damaging the finishing layers (render, floors, etc.) is good.
The second reason, which mainly concerns old renders, is cracking due to the gradual destruction of the material by water, microorganisms, and chemical agents.
Renders have different levels of resistance to moisture. Unfortunately, in case of water penetrating under the render, practically every elevation will be quickly damaged. This phenomenon is particularly evident after winter, when water penetrating small cracks freezes during sub-zero temperatures, thus increasing its volume. Consequently, the frozen water causes pieces of plaster to break off from the wall surface. If we do not repair minor damages in time, the cracks will quickly cover the entire surface of the elevation.
How do you fix a damaged rendered wall?
How to repair rendering on the wall? Regardless of the render type, it is impossible to carry out repairs on a small area so that the render’s color is identical to the rest of the elevation. It is evident with pigmented renders, and the darker the elevation, the more visible are the color differences.
Sometimes, however, we cannot renovate the whole façade at once for financial or time reasons. Therefore, we should treat local render repairs should be treated as temporary.
The first step is to remove the old render where it falls off. For that purpose, you can carefully scrape the render with a spatula. If you find a place where the render is already well bonded with the wall, it is worth making delicate incisions. That will make it possible to scrape off the old plaster exactly to those cuts, without damaging the render that lies on the façade.
Render may fall off under the influence of moisture and due to improper preparation of the substrate during its application. We should adequately prime the substrate to withstand the stress and vibrations that virtually always occur during the use of the building.
After removing the external render layers, we recommend removing the render mortar on the thickness of about 5 mm. Next, apply a special reinforcing mortar dedicated to exterior render repair in these areas. Under the finishing layer, you should also use to render mortar with embedded reinforcing mesh (elastic fiber mesh).
The last step is to prime the surface thoroughly (it is recommended to prime it twice) and apply the target finishing layer (usually acrylic or mineral render).
Re-rendering an entire façade
If you don’t want to renovate the whole façade and there is quite a lot of damage, it is worth thinking about changing the image of the building. A way to camouflage color differences between new and old render is to remove the render on larger areas, horizontal or vertical stripes, and create a new elevation in those places. In that case, it is worth using a new render of colors contrasting with the old elevation. Of course, this solution increases the scope of work, and we destroy a part of renders that are in good condition, but it allows us to do the renovation without worsening the aesthetics of the building.
However, suppose you want to maintain the existing color or impose various regulations (this applies mainly to historic buildings). In that case, it is best to remove the render on the entire elevation and redo the render work. Course, it is the most expensive solution, but it allows to keep the nice look of the whole building.
Related Posts
- Render Your Home Design With Lifelike Pictures And 360° HD Views
- Digital Advertising Company Jakarta
- Food Trade News And Analysis
- Official State Foods
- Inside Design Actual Property Jobs, Employment

